Woven Heart Baskets

Woven heart baskets look cute when finished. Stuffed with a few pieces of candy, they make adorable Valentine's Day gifts. This pattern will make 2 woven baskets.

Fair warning, this project is difficult for a lot of kids---definitely young ones.

Materials

  • Heart pattern printed on 2 different colors of paper (PDF at the bottom of the page)
  • Scissors

Instructions

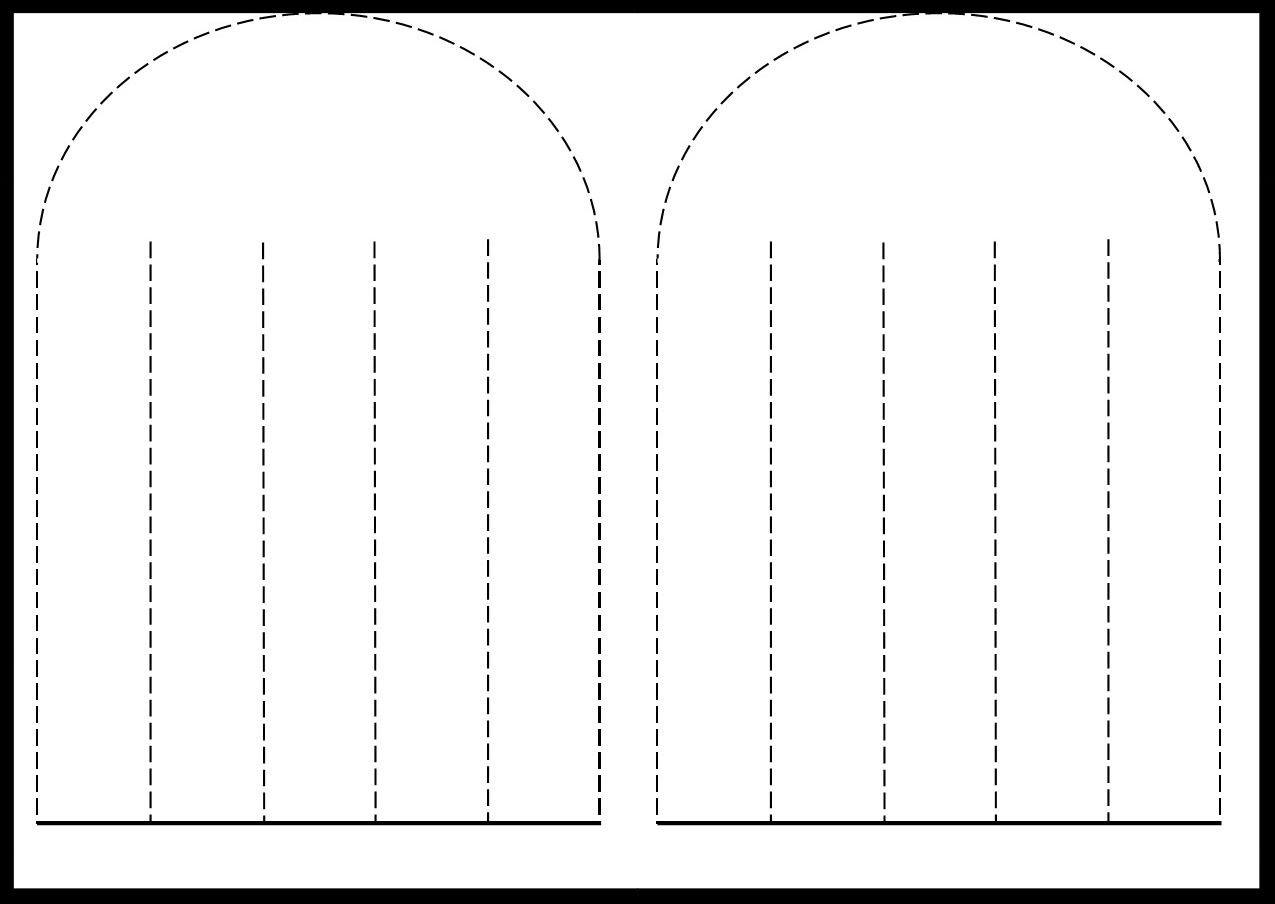
  1. Print out the pattern. Fold the paper in half along the flat bottom line of the pattern.
  2. Cut along the dotted lines.
  3. (see pictures below)
 

3. This is what you have now. The flat bottom of the arches will become the pocket of the basket. Let's call the blue arch, Arch1 and the yellow arch, Arch 2. Each of their 5 strips are indicated by letters.

4.  Take strip 2a and open it up slightly. Slip 1a (closed) through the opening of 2a.

5. Now, take 1a and open it up slightly. Slip 2b through this opening.

6. Continue to weave the strips together in the alternating pattern until there is nothing left.  2a---> (through) 1b, 1b--->2b, 1a--->2c, 2c--->1b, 1c--->2a, 2b--->1c, 1c--->2c, etc.

7. Once completed, the basket will look like this. Open it from the top.

 
Printable PDF Pattern

Printable PDF Pattern

Tips

  • Affix a paper strip to the top to create a handle for the basket, or...
  • To make a woven heart that isn't a basket, print out the patterns, but do not fold the papers in half. Cut out the pattern completely and weave. Use tape or glue to hold the ends of the strips down.

Jumping Figures

The puppets made in this project are fun to play with, but making them can be tricky for kids and adults alike. Hopefully, the steps below will help make the process easier.

Materials

  • Cardstock
  •  Scissors
  • Tape
  • Paper fasteners
  • Thin string
  • Hole punch
  • Markers
 

Instructions

1.      Cut out shapes from the cardstock to act as the legs, body with head, and arms of an animal/creature/alien. Decorate with markers.

2.      Punch a hole in each limb where it will be attached to another body part.

3.      Arrange the limbs underneath the body. Attach the limbs and body together by poking paper fasteners through the holes from above and opening the fasteners to lock. Keep the paper fasteners loose, though. The limbs won’t move easily if they are tight.


4.      On the backside of the puppet: tape a piece of string across the top pair of limbs, in this case, the arms. The ends of the string must be taped above the paper fasteners for the puppet to work. The string should not be very loose. Trim to size. Repeat for the legs.

5.      Take one long piece of string. Tie one end to the center of the string connecting the arms. Tie the string again, but this time around the center of the leg-connecting string. Leave the other end hanging down. There is no specific length the string should be. It will all depend on the size of your puppet. However, when the limbs are down, the string connecting the leg and arm strings should not be slack.

6.      To use, hold the puppet from the top and pull the string down. The limbs will move up.


Tips

  • Students found this project relatively difficult, and needed help figuring out how to join the pieces of cardstock together.
  • Keep the pieces, especially the limbs, wide. Kids like to cut them so narrow that a hole can’t be punched in them.
  • These instructions are based on a 4-limbed puppet. We found any more made the moving of the limbs particularly difficult.

Sources

  • Book: "Get Creative with Paper" by Paul Jackson and Angela A'Court