


Project inspired by the spider that makes a web every spring in our doorway.
Supplies: copier paper+scissors+Grinnell Herald Register
How to:
1) Tape 6 pieces of copier paper into a rectangle or use a full sheet of newsprint.
2) Beginning at one end, make a first fold 3 inches in. Then continue folding the entire rectangle. You will end up with a long folded paper about 3 inches wide. Do not fold like you would a fan.
3) See Photo: Starting at one end alternate cuts back and forth that are 1/2 inch apart. Cut close to the fold but don't cut through.
4) Carefully unfold one layer at a time.
5) Pull sides to form the web.
6) Place in a window or wear as a fancy cape.
Scrolls
Materials
Wooden craft dowel (anywhere between 1/2” – 1/8” diameter, 1 foot long)
Roll of brown craft paper
Masking tape
Designed paper
String, twine, or yarn
Scissors
Instructions
Cut a long strip of craft paper, any length you want the scroll to be. Cut the width of the paper 10”. This ensures the scroll can be held by the dowel.
Tape one end of the craft paper strip along the length of the dowel. Remember to center it.
Lay the designed paper on top of the craft paper at the opposite end of the strip. Make sure the pattern is facing up. Leave about ¼” of the designed paper hanging over the edge of the craft paper.
Tape the two papers together on the opposite side. Trim the designed paper to the same width of the craft paper. Also trim any excess tape.
Tightly roll up the craft paper around the dowel, following the natural curl of the paper.
Once you reach where the 2 papers are taped together, keep rolling so the little ¼” rolled up. Hold the rolled up craft paper and ¼” piece and roll up the designed paper the opposite way. The idea is that the designed paper acts as a cover to the craft paper.
On the edge of the designed paper (opposite the dowel), make a small tab out of tape.
Attach a piece of string to the tab, long enough to tie nicely around the scroll.
Tips
These can be made any size. Simply adjust the measurements. The basic instructions are the same.
We used paint marbled paper for our designed paper. Anything can be used, though. Pieced together origami paper works well, too.
Jumbled Drawings | Paper Weaving Day Five

Warp and weft are the two basic components used in weaving. The lengthwise warp paper strips are held stationary in a frame while the weft strips are drawn through and inserted over-and-under the warp.
Supplies: Glue stick+two drawings
How to:
1) Make two drawings!
2) To make the Warp: Begin by folding one drawing in half to make your frame.
3) Measure the width of the warp strips and cut, leaving edge uncut.
4) Unfold paper. You now have your frame.
5) Cut drawing two into weft strips. Jumble or keep in order.
6) Begin weaving.
7) Finish by gluing strip ends to frame.
Paper Weaving - Day Four | Abstract Weaving

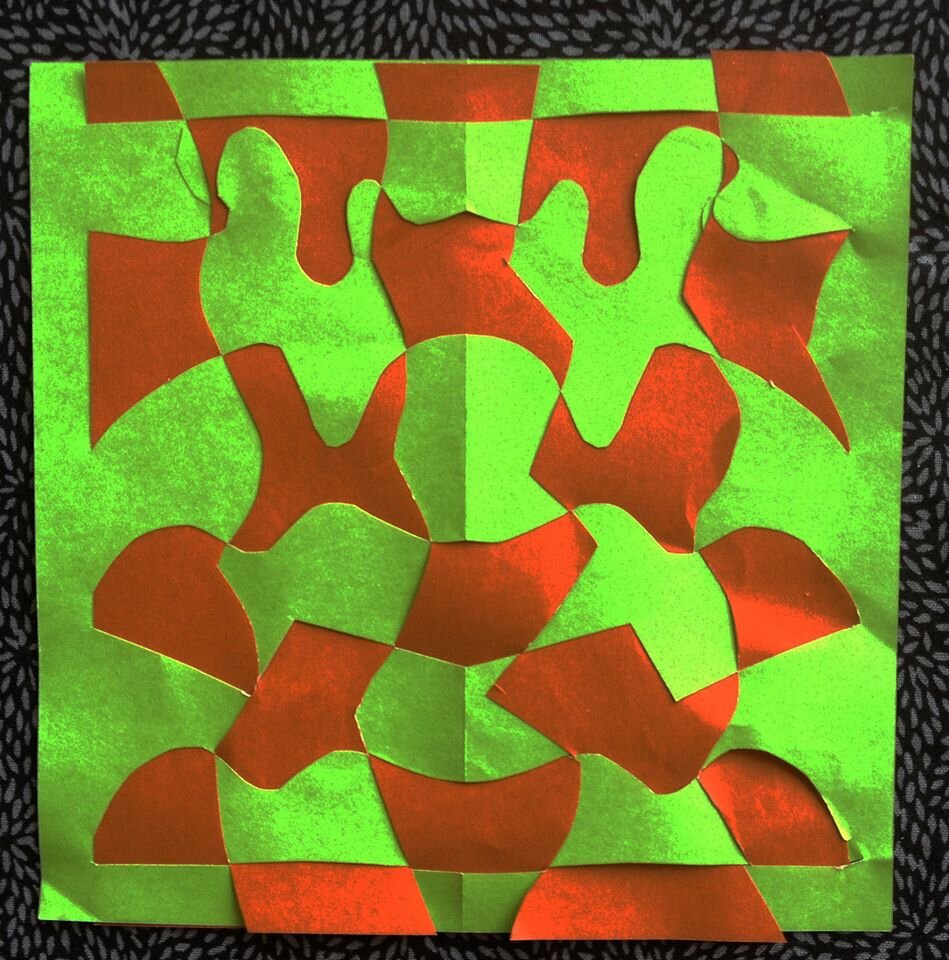


(Have fun--there are no mistakes!)
Warp and weft are the two basic components used in weaving. The lengthwise warp paper strips are held stationary in a frame while the weft strips are drawn through and inserted over-and-under the warp.
Supplies: Glue stick+colorful magazine pictures.
How to:
1) To make the Warp: Begin by folding paper in half to make your frame.
2) Measure the width of the warp strips and cut leaving edge uncut.
3) Unfold paper. You now have your frame.
4) Cut paper into weft strips. Keep them in order.
5) Begin weaving.
6) Finish by gluing strip ends to frame.
Paper Weaving - Day Three | Collage Weaving | Two Photos Together

Warp and weft are the two basic components used in weaving. The lengthwise warp paper strips are held stationary in a frame while the weft strips are drawn through and inserted over-and-under the warp.
Supplies: Glue stick+colorful magazine pictures or photo.
How to:
1) To make the Warp: Begin by folding picture/photo in half to make your frame.
2) Measure the width of the warp strips and cut leaving edge uncut.
3) Unfold paper. You now have your frame.
4) Cut a photo/picture into weft strips. Keep them in order.
5) Begin weaving.
6) Finish by gluing strip ends to frame.